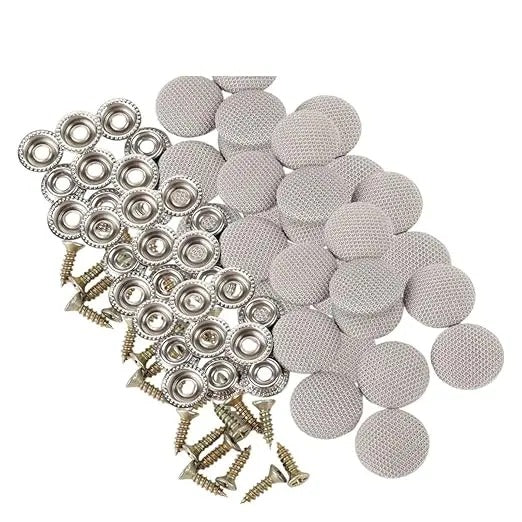
🚗 Car Headliner Repair Buttons – Quick Fix for Sagging Roof Fabric
🚗 Car Headliner Repair Buttons – Quick Fix for Sagging Roof Fabric


BUNDLE & SAVE
Couldn't load pickup availability
-
Ordered
- - -
Order Ready
- - -
Delivered

🚗 Car Headliner Repair Buttons – Quick Fix for Sagging Roof Fabric
Sagging roof fabric hanging over your head?
PIN IT BACK UP. SKIP THE FULL HEADLINER REPLACEMENT.
Secure loose or drooping headliner fabric with fabric-covered screw-in repair buttons for a quicker, cleaner DIY fix.
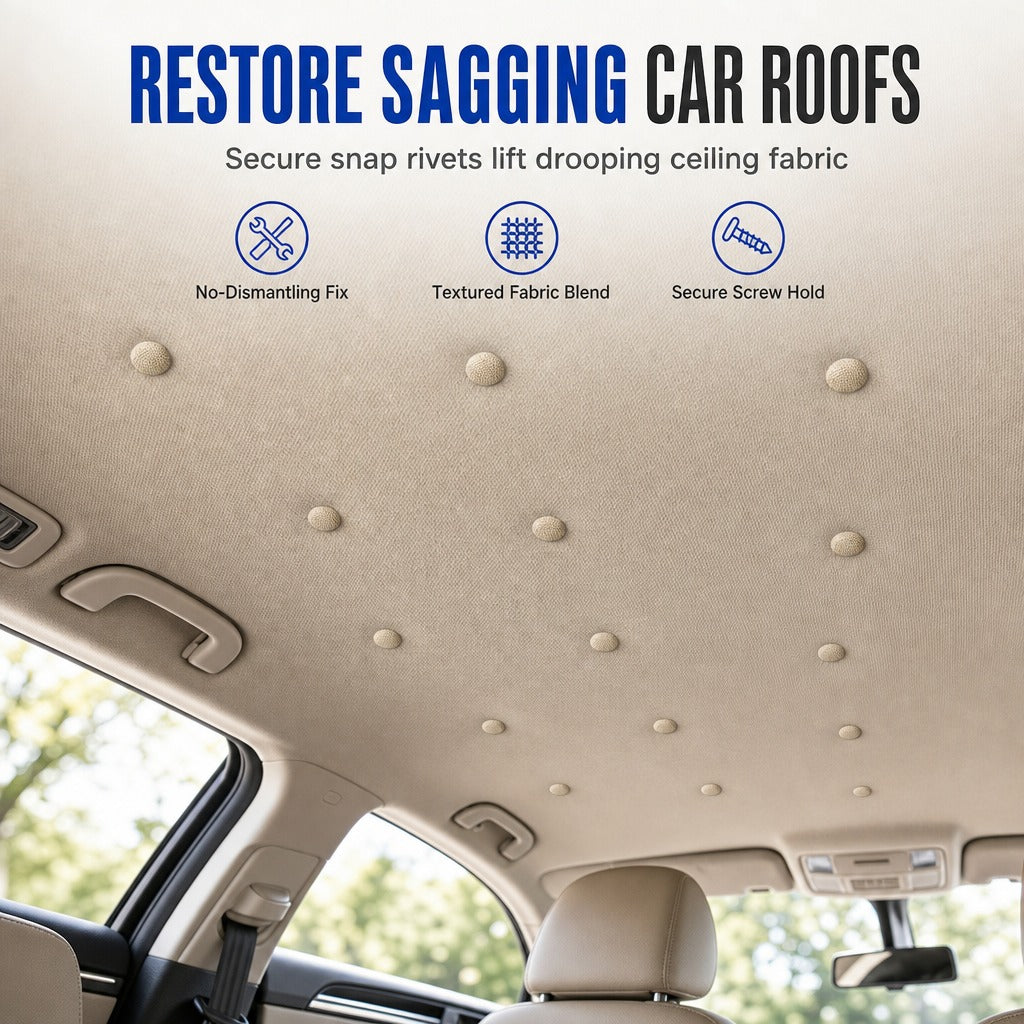
A Simple Way to Fix a Sagging Headliner
Hold loose roof fabric back in place without removing the entire headliner or covering the interior with spray adhesive.
Secure Hold
Screw-in hardware helps hold loose fabric back in place.
Cleaner Finish
Fabric-covered caps hide the visible screw point.
DIY Friendly
Mark, screw and cover the repair point.
No Spray Glue
Avoid sticky adhesive and messy overspray.
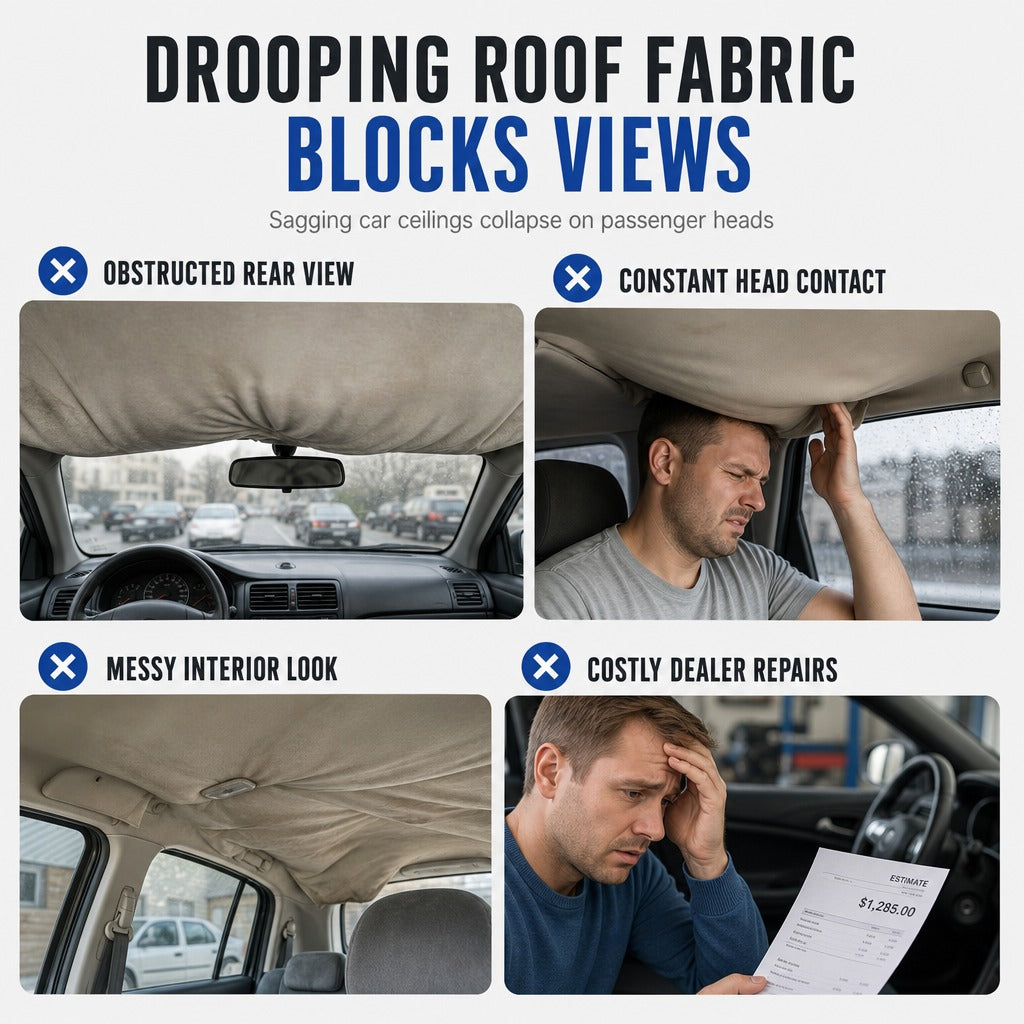
Get Sagging Fabric Back Above Your Head
Aging headliner adhesive can allow the roof fabric to drop into the cabin, making the interior look worn and sometimes reducing headroom.
Add fixing points across the loose area to pull the fabric back toward the roof.
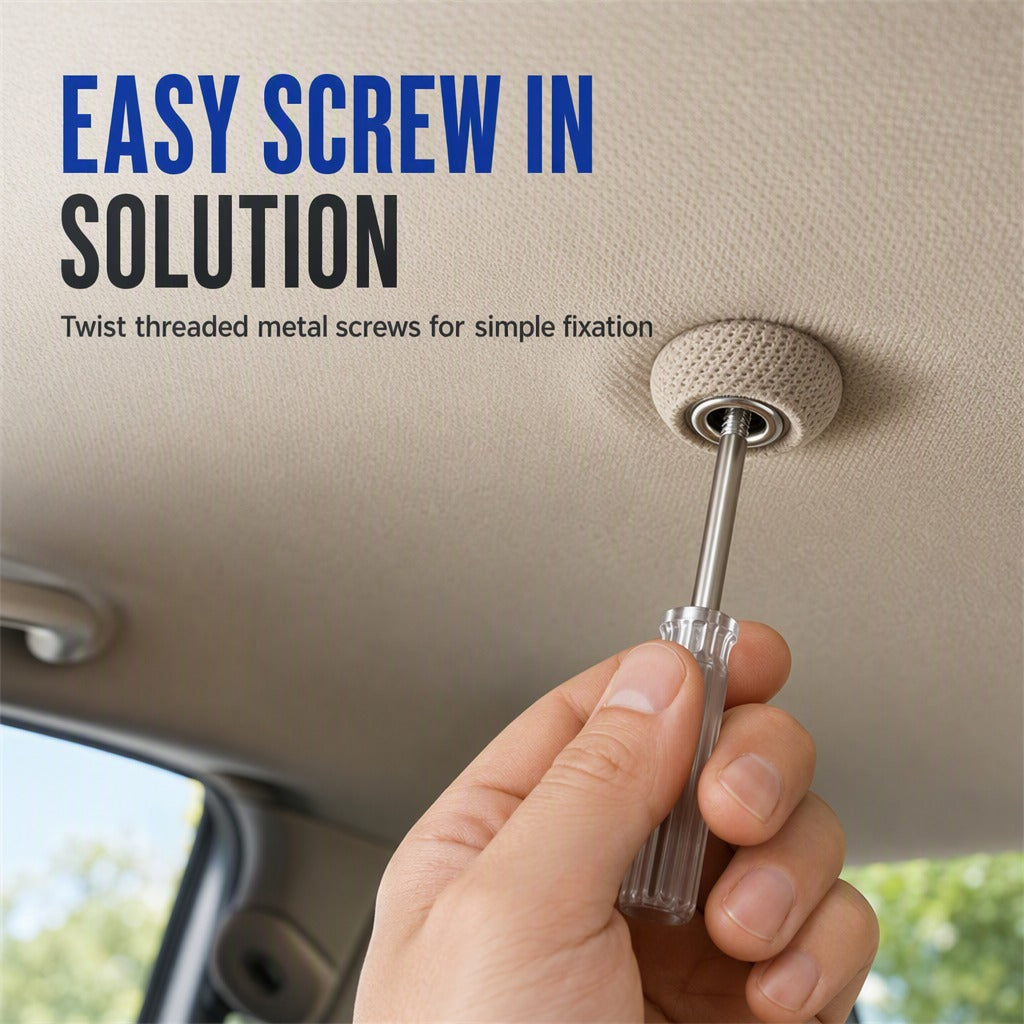
Repair It Without Removing the Entire Headliner
Place the fixing point where the fabric needs support, then drive the threaded screw through the loose material and into the suitable headliner backing area.
It gives you a practical localized repair without dismantling the full roof liner.
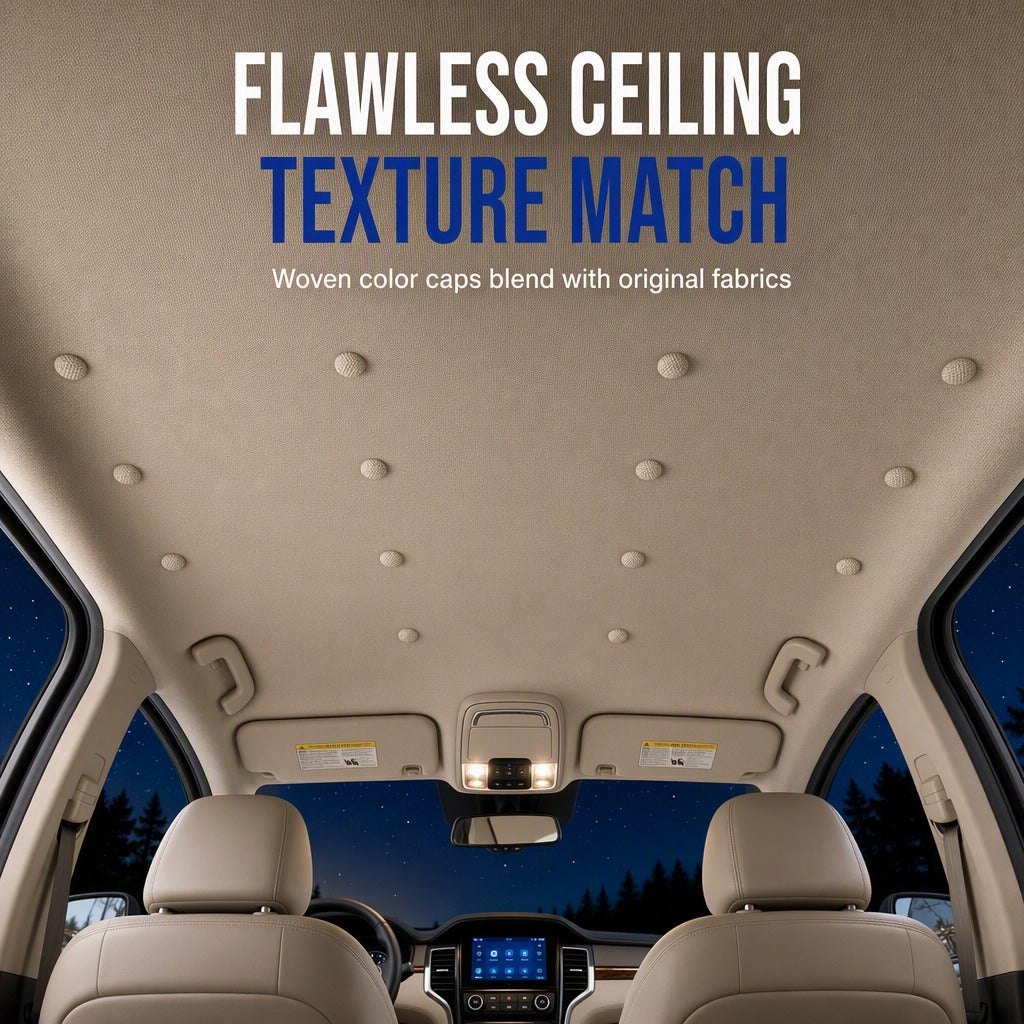
Fabric-Covered Caps Hide the Hardware
Instead of leaving exposed metal screw heads across the vehicle ceiling, each visible fixing point is finished with a fabric-covered cap.
Space the buttons evenly to create a cleaner, more intentional-looking repair pattern.
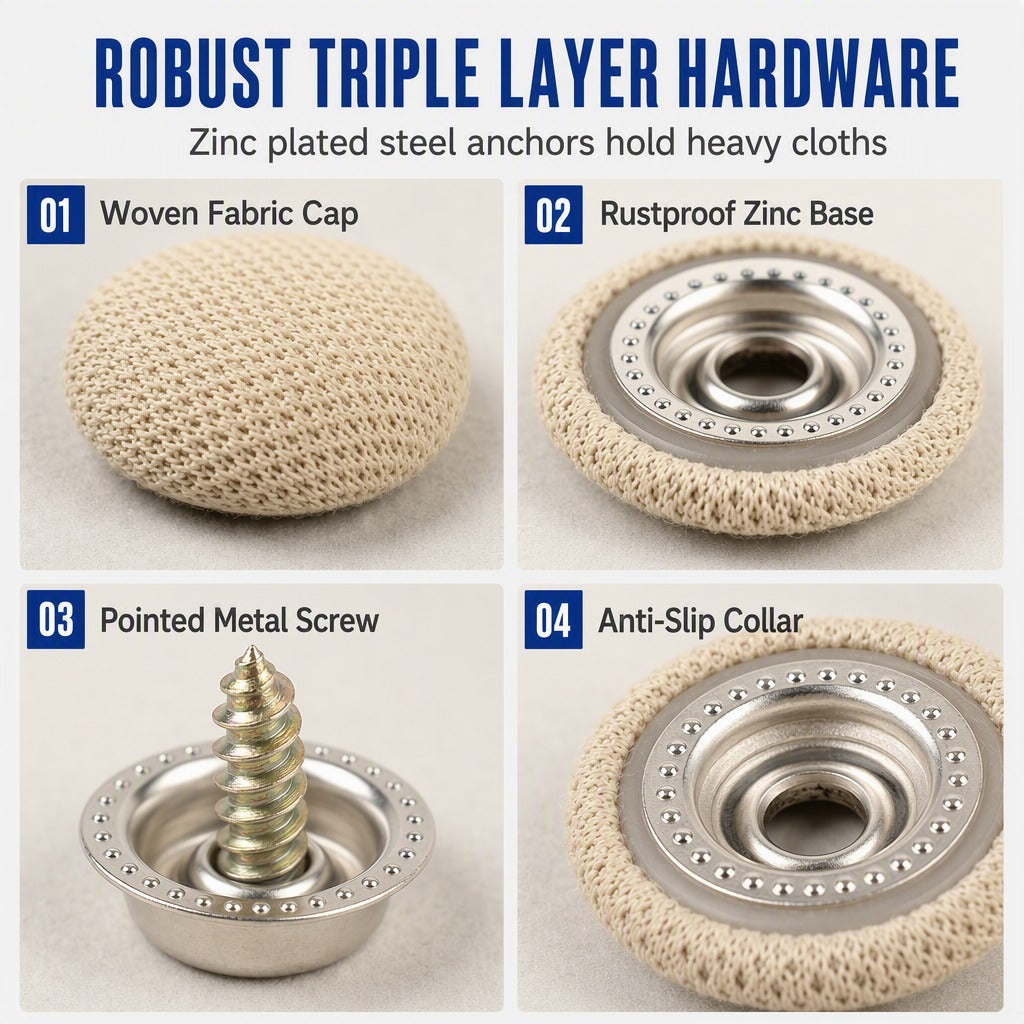
Mechanical Fastening Instead of Failing Adhesive
The repair uses a threaded screw and metal retaining base to create a direct fixing point through the loose headliner fabric.
That means the repair does not depend on the old factory adhesive that has already started to fail.
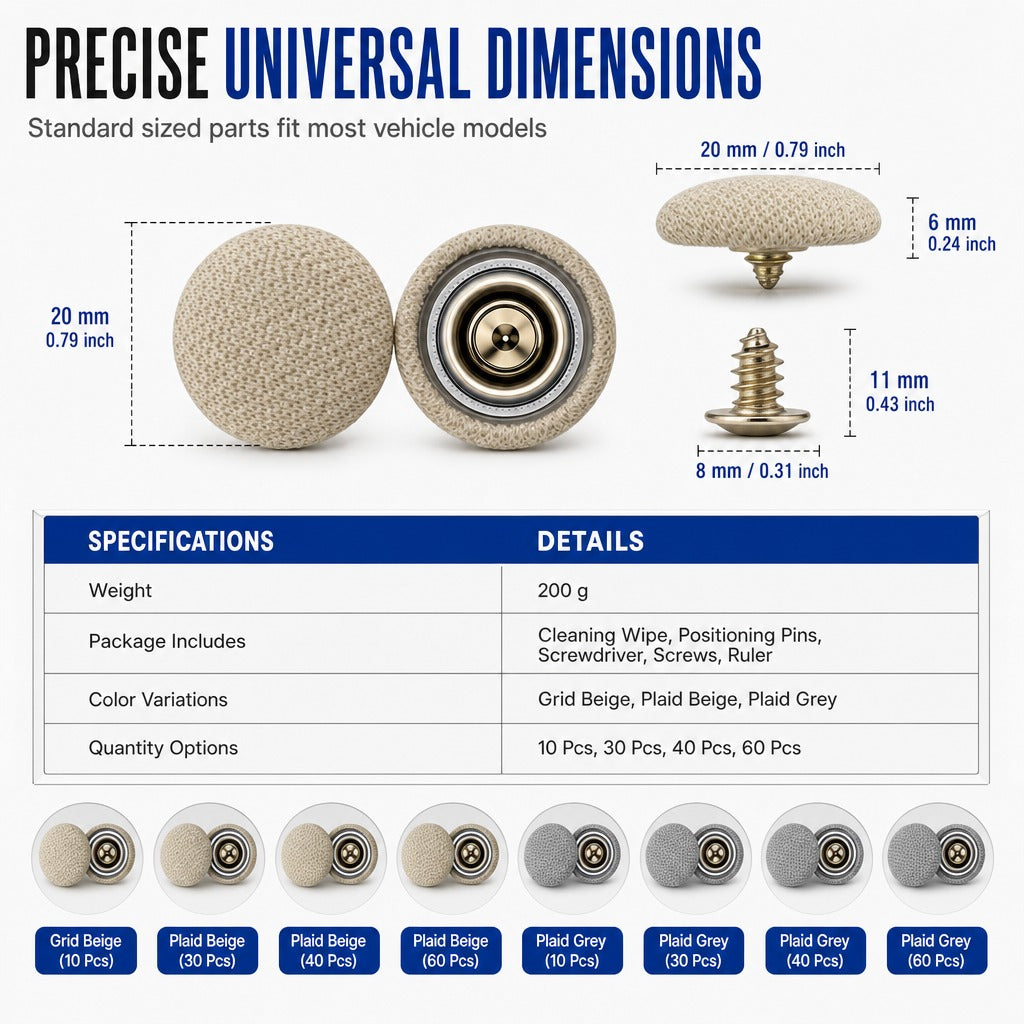
Compact 0.79-Inch Repair Caps
Each visible button measures approximately 20 mm / 0.79 in across.
The compact size provides a visible fixing point without creating an oversized fixture across the ceiling.
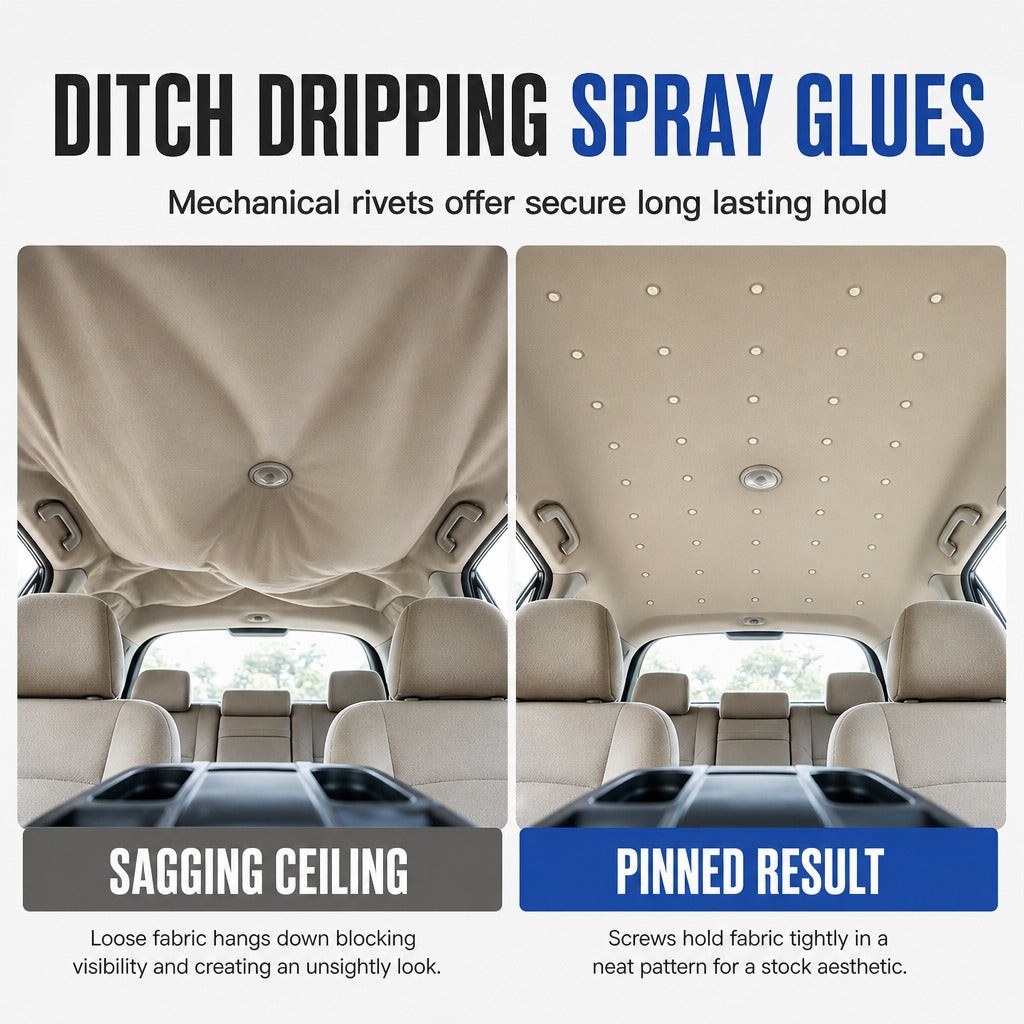
Skip the Mess of Spray Adhesive
Spray adhesive can be difficult to apply evenly inside a vehicle and may leave sticky residue or overspray on surrounding trim.
Screw-in fixing points let you secure the loose fabric directly without spraying glue across the roof.
Size, Installation & Available Finishes
Check the installation process, components and finish options before choosing your set.

Simple 4-Step Installation
Plan the spacing, install the screw base, attach the fabric cap and repeat across the loose area.

Dark Interior Option
Black fabric-covered caps coordinate more naturally with darker roof liners and vehicle interiors.

Beige Interior Option
Beige caps are designed to blend more naturally with tan, cream and light-color roof fabrics.

Gray Interior Option
Gray fabric caps provide another neutral option for common automotive headliner colors.
Specifications
Key product measurements and kit options.
Frequently Asked Questions
What are these buttons designed to repair?
They are designed to secure loose or sagging automotive headliner fabric back toward the roof.
Do I need to remove the entire headliner?
No. The design is intended for localized fixing points, so you can repair loose areas without removing the entire roof liner for normal installation.
Do I need spray adhesive?
No. The system uses screw-in mechanical fixing points instead of relying on spray adhesive.
How large are the visible buttons?
Each visible fabric-covered cap measures approximately 20 mm / 0.79 in in diameter.
How many buttons do I need?
It depends on the size and severity of the sagging area. Smaller localized repairs may need fewer fixing points, while larger areas may require more evenly spaced buttons.
How should I arrange the buttons?
Plan your positions before installing and keep the spacing as even and symmetrical as possible for a cleaner finished appearance.
Are different colors available?
Yes. The product is offered in multiple neutral fabric finishes designed to coordinate with common automotive headliner colors.
Will this fit every vehicle?
Headliner materials and roof construction vary by vehicle. Check the intended fixing area carefully before installation and make sure there are no hidden vehicle components behind the screw location.